Key takeaways
-
Start with one placement and one micro-goal (AOV lift, trust signal, or collection discovery) and run a 7–14 day test using the exact overlay text, clip lengths, and attribution rules below.
-
Product-page clips with a single accessory bundle CTA drive the clearest AOV signal because the click keeps shoppers on the same SKU context and converts overlay taps directly to cart line items.
-
Homepage and Shop feed placements are top-of-funnel: keep clips under 20 seconds, make the first frame readable on mute, and link to curated collections rather than single SKUs if your goal is exploration.
-
Collection pages and filtered grids need video-to-filter mapping and fallback thumbnails to avoid zero-video states; use a 1-in-3 tile swap ratio and lazy-load on mobile to limit page weight.
As of October 2026
Product page example — AOV lift with a single accessory bundle
Conclusion: Put a short product-in-use clip that ends with one clear bundle CTA; you can measure add-to-cart and AOV change in a week if you run the overlay to a controlled sample.
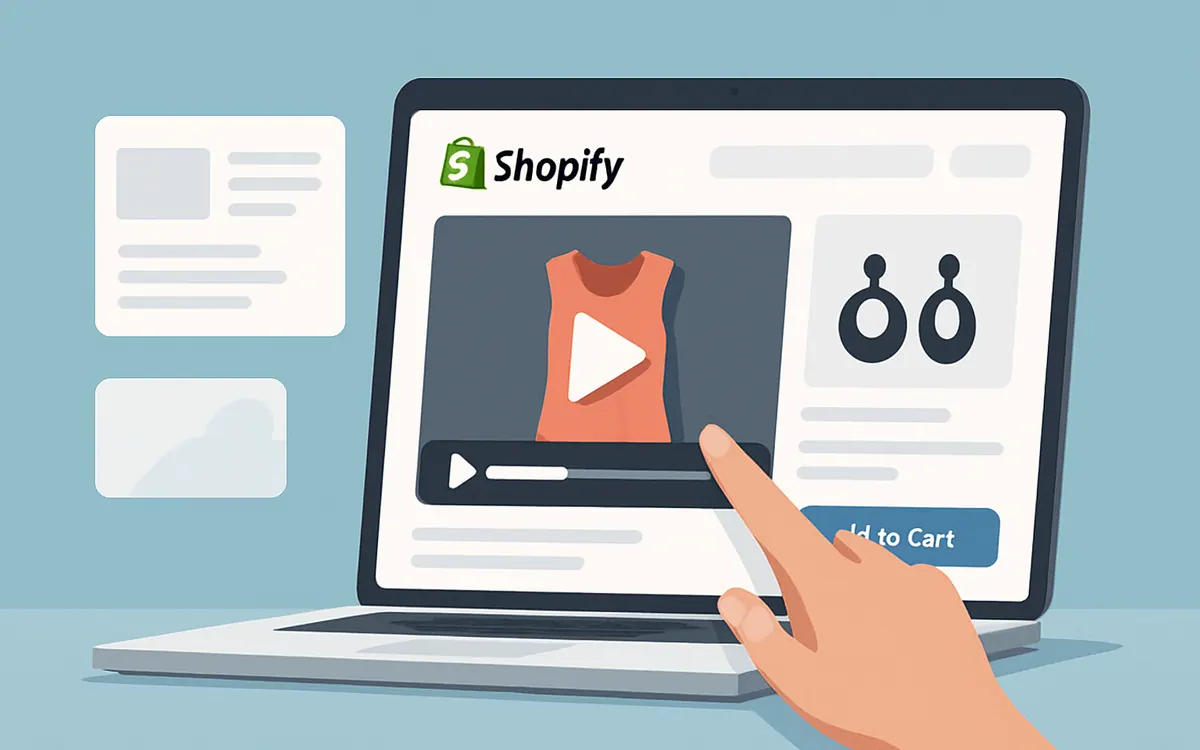
Why this works: shoppers on product pages have high purchase intent and low tolerance for navigation friction. A 20–30s clip that demonstrates the main product and one complementary accessory reduces decision friction because the overlay CTA can add the accessory as the same cart line item or as a pre-bundled SKU.
Copy-ready recipe (one-day setup, 7-day test):
-
Clip length: 20–30 seconds. First 3s: product on a person or clear close-up. Middle 12–22s: short demo showing the accessory in context. Final 3–5s: large persistent CTA that reads exactly "Add bundle — $95" (use your real price).
-
Overlay behavior: persistent product tag from 3s on; CTA should add a single bundle SKU or toggle an accessory checkbox within the product form so the click results in an immediate add-to-cart event without leaving the current product context.
-
Measurement: pick 10 SKUs, send 25% of their traffic to the video overlay and 75% to the control page. Track add-to-cart rate, AOV per session, and conversion rate on the bundled SKU for 7–14 days. Use a single UTM per variation.
Worked numbers you can copy: base product $75, accessory $25. Create a bundle priced at $95 and label the CTA "Add bundle — Save $5". If baseline add-to-cart for the product is 8%, a conservative target is +1.5–3 percentage points in add-to-cart rate for the test segment; treat any uplift as a signal to scale, not a guarantee.
Trade-offs: this placement requires accurate SKU mapping and a cart API change or theme edits to accept a bundled add-to-cart. It gives fast attribution but scales less easily if your catalog has many one-off SKUs. If you have >20 SKUs with repeatable accessories, this is the highest-return first test.
Next step: create the bundle SKU, export one 20–30s MP4, set the overlay CTA in your shoppable video app, and roll to 25% of product-page traffic for 7 days.
Homepage example — trust signal that reduces bounce and increases session depth
Conclusion: Use short social-proof clips in or just below the hero to answer the top shopper question "Does it work for people like me?" and route clicks to collection pages or curated product lists rather than forcing a purchase push.
Why this works: homepage visitors are often seeking quick confirmation the brand and category match their need. A 12–18s clip showing a customer using the product, with a visible badge (eco, warranty, fit) and a short testimonial line, gives immediate context and entices the visitor to explore categories.
Copy-ready recipe (one-day setup, 7–14 day test):
-
Clip length: 12–18 seconds, loop-enabled but don't pack more information than a first play can convey.
-
Overlay copy and timing: first 3s show product and a one-line badge (e.g., "2-year warranty"), middle 6–10s show use case with a one-line customer caption, final 2–3s show a discovery CTA such as "See tried-and-true picks".
-
Destination: link each homepage clip to a specific collection (best-sellers, gifts under $50, or new arrivals) rather than a product page. That keeps the experience exploratory and increases pages per session, which is the metric to watch here.
Worked example: three hero-adjacent clips each link to a different collection. Measure collection click-through rate and pages per session for visitors who see the video vs those who don't. If your site average session depth is under 2 pages, expect visible improvement if the clips answer the shopper's key question in the first 6 seconds.
Trade-offs: homepage placements create lots of impressions but lower immediate conversion. They require strong creative that reads on mute and a clear routing strategy to collections. If your priority is catalogue discovery or reducing bounce, start here; if you need immediate revenue, start on product pages.
Next step: build three 15s clips, drop them into the hero-adjacent slot, and A/B test click-through to collections for 14 days. See Shopify Homepage Shoppable Video Best Practices for 2026 for layout guidance.
Collection page example — discovery and filter-aware video placement
Conclusion: Replace or augment thumbnails with short clips only for filter states where video content exists, and always provide a fallback thumbnail to prevent empty results; use a 1-in-3 swap ratio so the grid still feels scannable.
Why this works: shoppers using collections and filters are showing intent around attributes (color, size, use case). A small video tile that immediately signals "this product fits your filter" increases click confidence. But video tiles must be managed: pages with many empty video slots feel broken.
Copy-ready recipe (one-day setup, 7–14 day test):
-
Clip length: 8–16 seconds. Lead with a small top-left label that matches the active filter (e.g., "Waterproof") so the clip reads as relevant inside the grid.
-
Tile rules: do not replace every thumbnail with a video. Use a ratio: 1 video tile per 3 thumbnails (approximately 25–35% video density). On mobile, lazy-load tiles when they enter the viewport.
-
Fallback behavior: when a filter state would return zero video tiles, display a branded thumbnail with a "See videos for category" micro-CTA that clears the filter and links to an unfiltered collection or a video landing page.
Worked example: pick a 60-item collection, tag 20 items with short installation or lifestyle clips. Configure the collection grid to swap thumbnails for video only when the shopper selects a related filter (e.g., "Installation guide"), and track click-through rate to product pages for items with and without videos over 10 days.
Trade-offs: collection-level video needs consistent tagging and a fallback strategy. If your catalog is small (<50 SKUs), invest in product pages first. If you have broad category filters and repeat uses, collection placements scale discovery without heavy per-product engineering.
Next step: choose one collection with at least 40 SKUs, tag 20 top candidates with videos, set the 1-in-3 tile swap, and run the test for 10 days using heatmaps and click maps to measure discovery lift.
Shop feed and Shop app example — reach new buyers with short, tag-first clips
Conclusion: Use 6–12 second silent-first clips with a bold product tag in the first frame for feed placements; send cold traffic to a landing collection and remarkets to product pages or bundles.
Why this works: feed environments (Shop, social) reward immediate visual clarity. Viewers don't always unmute, so the product and context must be clear in frame one. Price or use-case tags ("Under $50", "For commuting") help viewers self-select quickly.
Copy-ready recipe (one-day setup, 7–14 day test):
-
Clip length and framing: 6–12 seconds. Frame 0–2s: product plus a large readable tag (price or use case). Frame 2–8s: quick lifestyle motion. Final frame: persistent tap target to product or collection.
-
Destination rules: for cold audiences, always send to a curated collection or a short landing page that answers basic questions (shipping, returns, top 5 SKUs). For retargeted viewers who've watched at least 50% of the clip, send to a product page with a bundle CTA.
-
Creative re-use: if you already have product-page clips, crop to 9:16, add a first-frame tag, and trim to 8–10 seconds to speed creative production.
Measurement: track cost per click, add-to-cart rate from feed traffic, and cost per add-to-cart. Use UTM segments to isolate feed traffic and compare against other acquisition channels.
Trade-offs: feed placements can scale impressions quickly but require creative iteration and budget to test variants. If you have a small creative team, start by trimming existing product clips rather than producing new content from scratch.
Next step: export a top product-page clip, crop to 9:16, add a bold 0–2s price tag, and test in the Shop feed for 7 days with UTM-tagged links.
Link for implementation and tagging: Hyper Shoppable Videos supports feed-ready exports and in-video product tagging — click to view Hyper Shoppable Videos examples and templates you can reuse.
Which shoppable video placement should I try first?
Short answer: start where intent is highest and technical risk is lowest for your store. If your catalog supports repeatable accessories or bundles, begin on product pages; if you need to reduce homepage bounce and get visitors into collections, start on the homepage; if you have paid creative budget and want reach, use the Shop feed.
Decision sequence to follow today:
-
Inventory decision: if at least 20 SKUs share accessories or common upsells, pick product pages first because attribution and UX are simplest there.
-
Traffic health decision: if average session depth is under 2 pages or bounce is high, pick the homepage to increase exploration.
-
Creative budget decision: if you can produce multiple short edits and have ad budget to test 5–10 creatives across 7–14 days, allocate the Shop feed a portion of your budget and retarget viewers back to product pages.
Practical thresholds and trade-offs:
-
Use product pages if you can map SKUs to accessory SKUs or bundle SKUs for at least 20 items. This reduces the friction of converting video taps to cart additions.
-
Use the homepage if you want to improve catalog exploration (target: +0.3 pages per session or reduced bounce within 14 days).
-
Use the Shop feed if you can secure at least 5,000 impressions per creative variant within 7–14 days for meaningful signal.
If you can run only one test this week, pick a single placement, one creative variant, and run it to 20–25% of the relevant traffic for 7 days; this keeps the learning clean and the implementation quick.
Day-one recipes: copy-ready snippets, overlay text, and production checklist
Conclusion: Use the exact overlay text and clip timing below to publish a test in a day; these snippets remove ambiguity for editors and the shoppable app fields.
Copy-ready overlay snippets (cut-and-paste):
-
Product-page bundle CTA: "Add bundle — $95 (Save $5)" — show from 3s to end.
-
Homepage trust CTA: "Real customers — 4,200 reviews" — show at 6–12s (replace review count with your real number).
-
Collection filter tag: "Waterproof — Watch install" — badge top-left from 0–8s.
-
Shop feed first-frame tag: "Under $50" or "Best for commuting" — bold text centered 0–2s.
Production checklist (one-day, non-technical):
-
Pick placement and micro-goal (AOV, trust, discovery).
-
Choose 3 test products and write one-line CTA for each from the snippets above.
-
Shoot 1–2 short clips per product with a phone on a tripod: one hero shot (3–5s), one usage shot (8–15s).
-
Export MP4, H.264 codec, 1080p; target file size under 20MB for quick uploads.
-
Upload to your shoppable video app, map SKUs, and set overlay text and CTA links.
-
Launch to 10–25% of traffic and run the test for 7–14 days.
Table for quick readiness checks:
| Criterion | What to check | Why it matters |
|---|---|---|
| Zero-result rate | Share of searches returning nothing | Direct lost revenue |
| SKU mapping completeness | Percent of test SKUs with bundle or add-on SKUs configured | Needed to convert overlay clicks to a cart line item |
| First-frame clarity | Can the product and tag be recognized at mute in 2s? | Feed placements depend on it |
| Mobile load size | Average video load size under 1.5MB on mobile | Reduces bounce on mobile users |
Trade-offs to accept on day one: prioritize first-frame clarity and SKU mapping over cinematic production. A clear 12s clip that shows product and CTA will usually outperform a poorly tagged 45s production piece for these tests.
Resources to speed up: use the Shopify Shoppable Video Setup Checklist for Non-Technical Merchants and the Ultimate Shopify Checklist for Implementing Shoppable Videos That Convert to avoid common setup mistakes. If you need better discovery and filtering while you build videos, consider pairing with Hyper Search & Filter to reduce zero-result states and with Hyper AI Chat & FAQs to answer reuse questions from shoppers who click through from video.
Measurement: the metrics and dashboards to use first
Conclusion: Track add-to-cart rate, AOV per session, collection CTR, and view-to-click rate per placement; instrument tests with UTMs and segment by device and traffic source to keep the signal clean.
Minimum metric set by placement:
-
Product page: add-to-cart rate on test SKUs, bundle SKU conversion (cart additions that include the accessory), and AOV for sessions that saw the video.
-
Homepage: click-through rate to collections, pages per session for exposed users, and change in bounce rate.
-
Collection page: product click-through rate for items with video vs items without, and time-to-first-click within the collection.
-
Shop feed: view-to-click (impressions to landing click), cost per add-to-cart, and view-to-add-to-cart for retargeted cohorts.
Implementation rules:
-
Use a single UTM parameter per creative and placement so analytics can separate variants.
-
Run tests to at least 7 days and aim for a minimum traffic threshold tied to the placement (product pages: 1,000 pageviews per SKU across 7 days; homepage: 5,000 impressions; feed: 5,000 impressions per creative). These are practical thresholds to reach observable signal; if you don't hit them, treat the test as exploratory and scale impression volume before deciding.
-
Segment metrics by mobile vs desktop because video load and behavior differ significantly.
Next step: create a dashboard that shows test vs control for the above metrics and check it daily for technical regressions and twice weekly for performance trends.
Implementation checklist and next steps
Conclusion: pick one placement, one micro-goal, prepare two creatives (control and variant), and run a controlled 7–14 day test with UTMs and a plan to scale winners.
Seven-step launch checklist you can execute in a day:
-
Choose placement and micro-goal (AOV, trust, discovery).
-
Pick 3 products and prepare one 12–30s clip per product using the day-one snippets.
-
Create bundle SKU(s) if testing product-page upsells.
-
Upload clips to your shoppable video app and map SKUs; set overlay copy exactly as in the recipes above.
-
Configure targeting (10–25% traffic for initial test) and UTM tagging for each variant.
-
Monitor daily for technical errors (missing SKU mapping, broken overlays) and collect metrics for 7 days.
-
If the test shows a positive signal at your chosen thresholds, scale to 50–100% of relevant traffic and run for an additional 7 days before making the placement permanent.
Primary CTA: View specific template examples and export-ready settings at Hyper Shoppable Videos.
FAQ
Can I put a video on my Shopify store?
Yes. Shopify supports embedding videos in themes and you can use shoppable video apps to add clickable product tags and overlays that map to SKUs. For straightforward needs, upload MP4s and place them in product or section blocks; for clickable overlays and feed exports, use a shoppable video app such as Hyper Shoppable Videos.
What video format is best for Shopify?
MP4 (H.264) at 1080p is the safest universal choice for Shopify and most shoppable video apps because it balances compatibility and file size. Export with H.264 codec, target 1080p, and aim for under 20MB per clip for quick uploads and mobile performance; crop to 9:16 for feed placements when needed.
What does shoppable video mean?
Shoppable video means video content that includes interactive elements (product tags, CTAs, overlays) which link directly to product pages, add items to cart, or open bundle options. The key difference from regular video is that every interactive element is tied to a SKU or collection so a tap can produce a commerce event.
Can you make 10k a month on Shopify?
Yes, many merchants reach $10k/month on Shopify, but whether a given store will depends on product margins, traffic, conversion rate, and repeat purchase behavior rather than simply adding video. Use shoppable video to improve conversion or AOV where it makes sense, and monitor how the revenue lift from video compares to the cost of production and media.
What sells really well on Shopify?
Products that sell well share clear use cases, repeat purchase potential, or simple decision criteria (size, color, fit). Video helps categories where demonstration reduces returns or increases confidence — categories like apparel (fit), home goods (installation), and beauty (application) — but you should evaluate whether video resolves a specific shopper doubt for your catalog before investing.
How do I avoid empty video slots on filtered pages?
Answer: provide a fallback thumbnail and a "See videos for category" CTA that clears filters or links to an unfiltered video landing page. Also maintain a 1-in-3 video tile ratio so filters are unlikely to return entirely empty grids.
How do I measure revenue from a shoppable clip?
Answer: use UTMs per creative and placement, track add-to-cart and AOV for the exposed cohort, and attribute any direct checkout conversions that include the bundle SKU or product SKU tied to the overlay. For clearer signal, run a control/test split on traffic to the placement.
For further templates, technical checklists, and export settings, see the Shopify Shoppable Video Setup Checklist for Non-Technical Merchants and the Ultimate Shopify Checklist for Implementing Shoppable Videos That Convert.